


Converting hydraulic systems to electric actuators can yield significant efficiency, safety, environmental, maintenance and economic benefits, but realizing these benefits requires careful decision making throughout the conversion process. To help facilitate the electrification of a linear motion application, ensuring optimal performance and long-term success, it is recommended to consistently follow a proven set of steps such as the one detailed in this article.
- Establish the Motion Profile
If you don’t already know how much force your application will need, measure the pressure that the hydraulic cylinders are currently providing and their size, and then multiply pressure by area to calculate the load according to the following formula:
F = P×A
Where: F = Force, lbs (Pounds)
P = Pressure, psi (Pounds per square inch)
A = Piston area, in² (Square inch)
A forklift using a hydraulic system to provide linear motion is a good example. (Figure 1) The force is the weight that the equipment can lift. The pressure is the number of pounds per square inch within the cylinder, and the piston area is the cross-sectional area of the cylinder's piston.
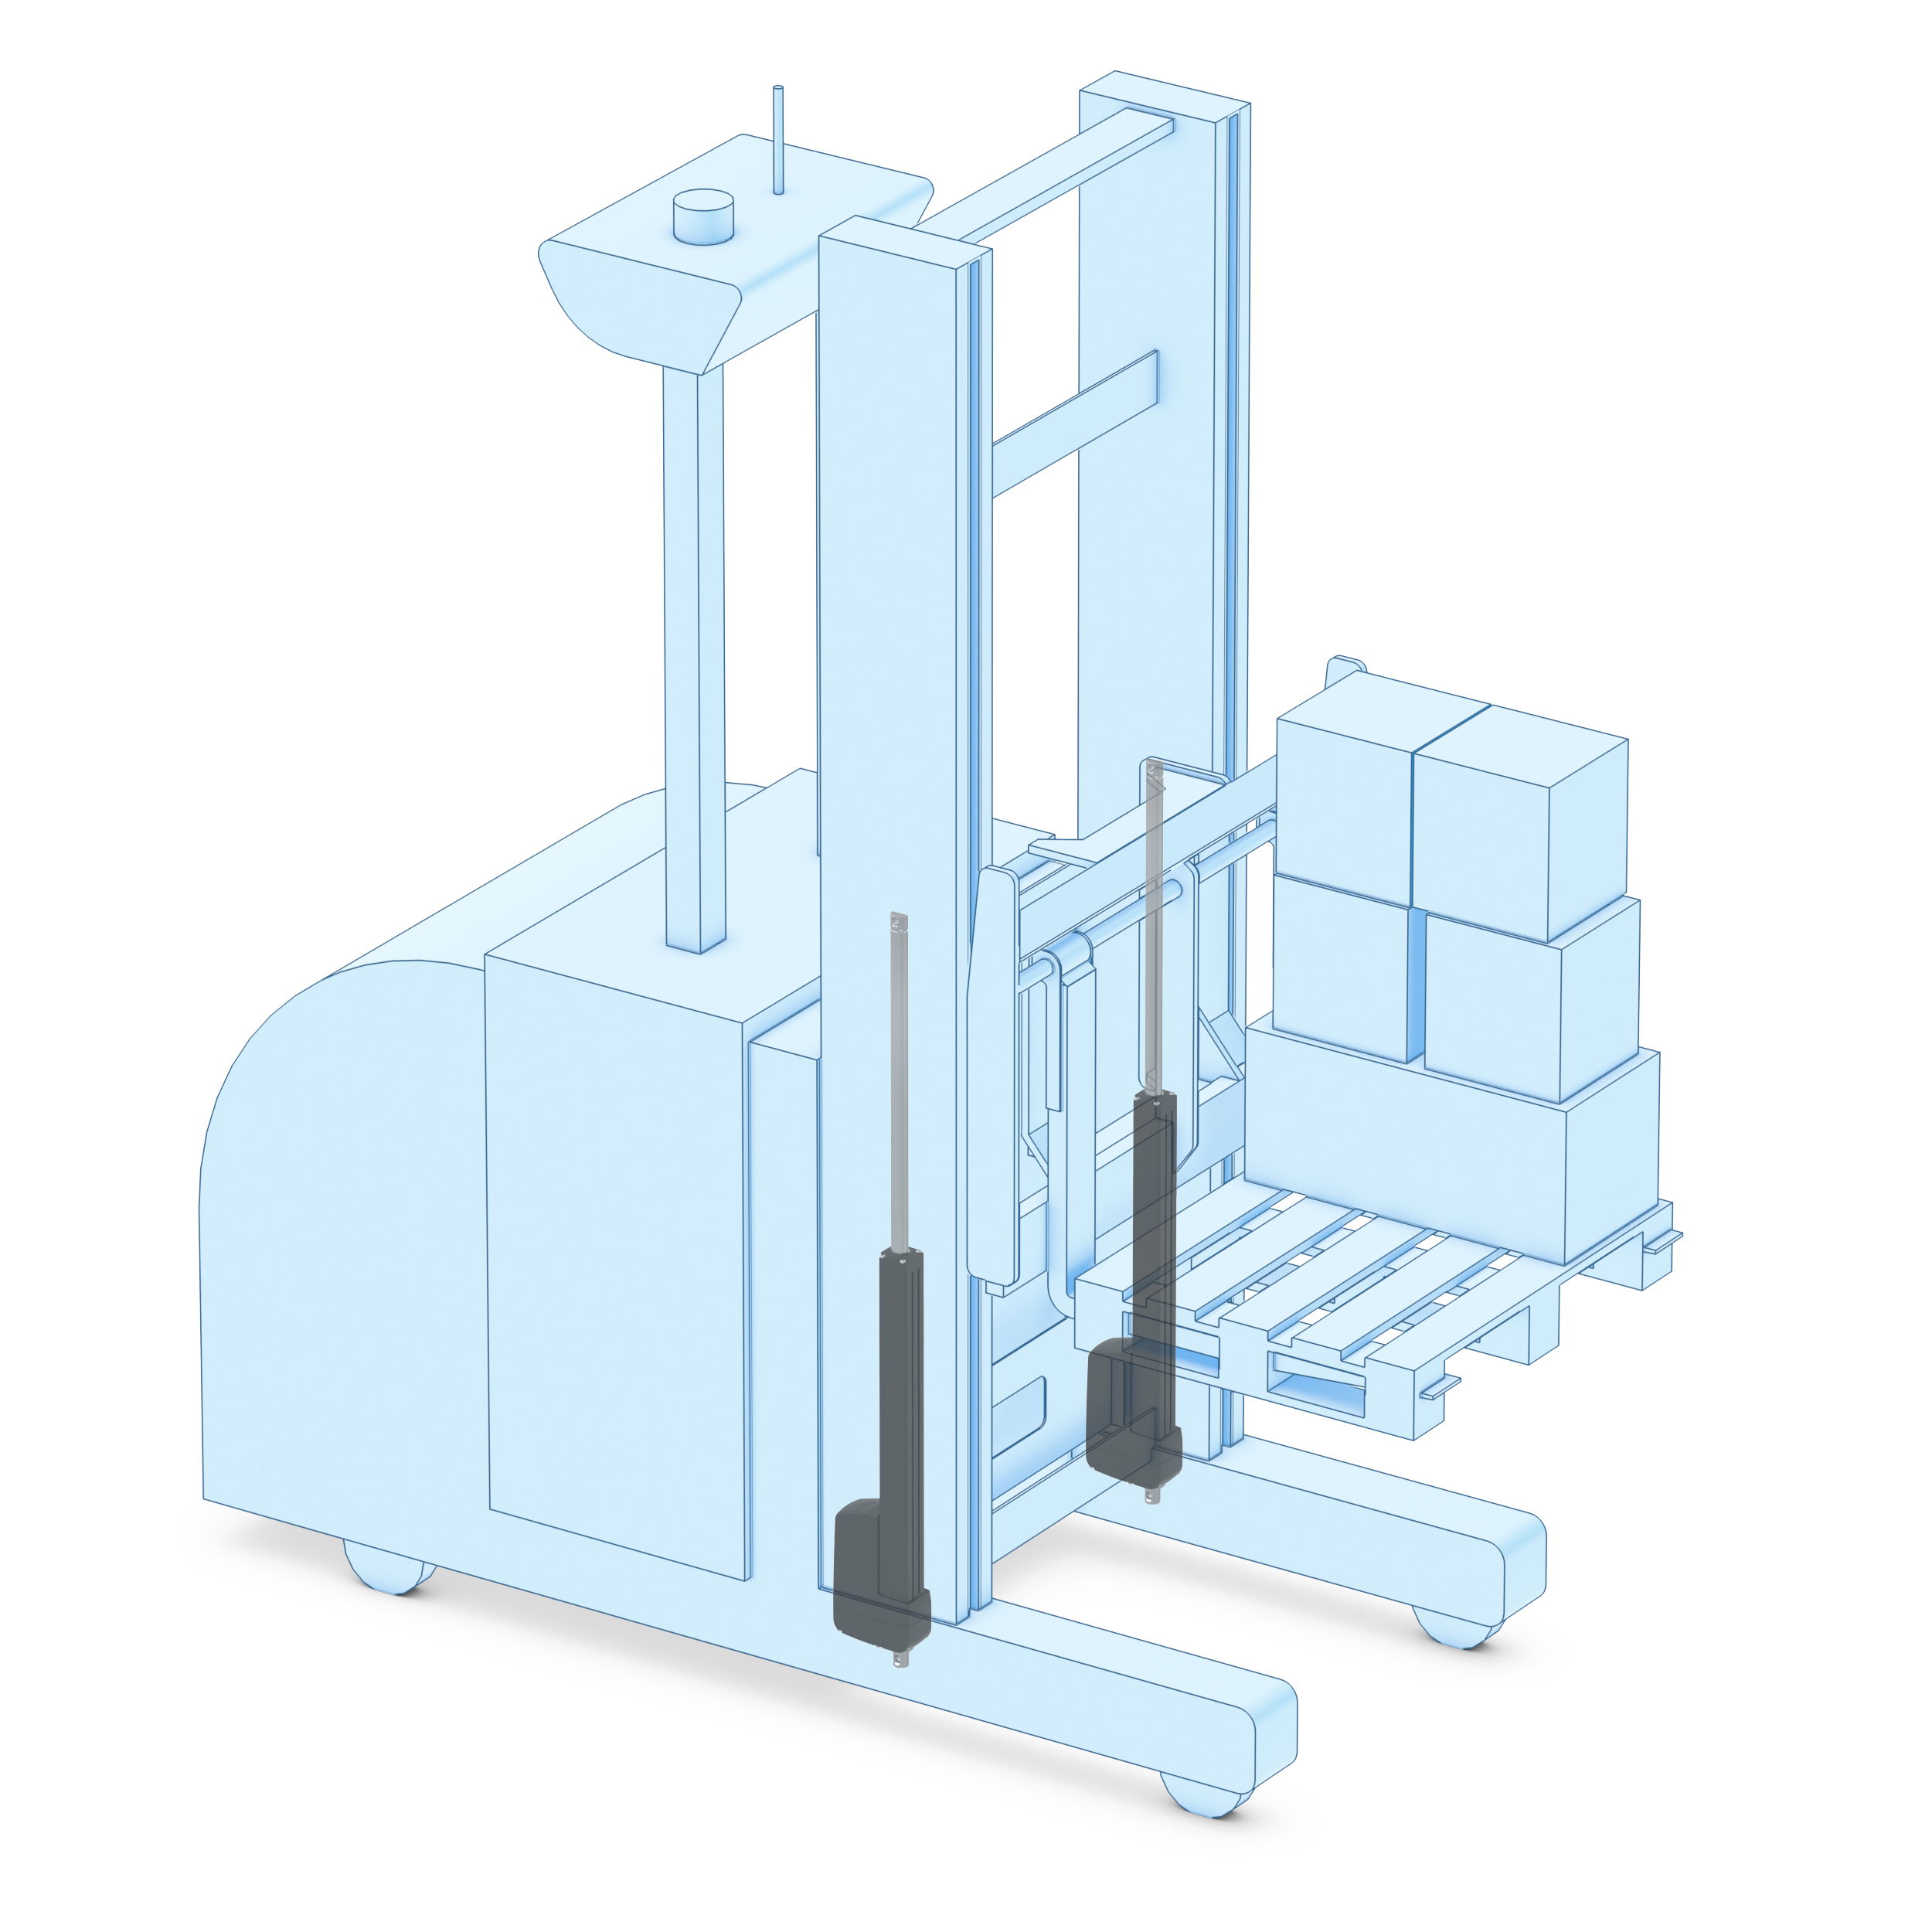
Figure 1. Designers of industrial equipment such as this self-driving forklift have been increasingly replacing hydraulic actuators with electric actuators, such as those shown in this picture. Image courtesy of Thomson Industries, Inc.
Application requirements may state speed requirements, but if you do not have them, calculate them for the hydraulic system using the following equation:
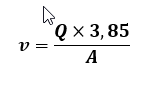
Where: v = Speed, in/s (Inches per second)
Q = Flow, gpm (Gallons per minute)
A = Piston area, in² (Square inch)
With knowledge of force and speed, you can then calculate the duty cycle -- the proportion of time the actuator is actively operating compared to the total time in a cycle. It is typically expressed as a percentage and calculated according to the following formula:

Where: ton = On time, s (seconds)
toff = Off time, s (seconds)
From there you can calculate the total operational life in years according to:
Lactual = Duty cycle × Lr
Where: Lactual = Actual lifetime, h (hours)
Duty cycle, %
Lrated =Rated lifetime, h (hours)
Application considerations such as cylinder type, retraction, safety factors, load distribution, inertia, friction, inclination angle and vendor claims may require adjustments to these calculations and the sequence in which you perform them, but these baseline calculations will give you a good place to start.
Aside from establishing the motion profile, a smooth transition from hydraulic to electric motion requires attention to energy, control, installation and management issues.
- Evaluate the Power Source
Using the forklift example, once you’ve established the motion profile, you must then determine its voltage. The existing lift will either have a 24- or 48-volt power supply. The voltage size will not affect performance, but you may find the 48-volt supply more convenient than 24-volt because it will consume only 50 percent of the current. This would enable the use of smaller motors and thinner cables, both of which are advantageous for mobile vehicles such as forklifts. Actuators are rated for specific voltages, so once purchased, there is no turning back.
Battery type can also be a factor. Your hydraulic system will likely have either lead acid or lithium-ion batteries. Lithium-ion batteries are especially well suited for electric actuators as they will be charged when the actuators are running in generator mode. Therefore, when lowering the forks with load, the electric motor in the actuator can be used to brake the load. The return can be as much as 50% of the power used to lift the load. This and the fact that electromechanical actuators will be more efficient overall than hydraulic cylinders enable the use of a smaller battery, which can help extend the equipment uptime of a mobile vehicle.
- Establish Control Requirements
Your hydraulic power pack probably offers only on and off and maybe some limited speed controls, but if those options are not adequate for you, converting to electric actuators can quickly solve your issue. Electromechanical actuators allow low-level digital switching between low or full speed, analog speed input or an information protocol such as CAN bus. There may be situations in which you would like to program into the application’s main software. For example, if you are forklifting fragile items, it may be useful to program for a soft start or stop, something not possible with hydraulics.
Emergency lowering can be another benefit of electrical actuators. If you lose power or have other problems when the forks are at the top of the lift, it is difficult to transport the load. A manual override allows you to mechanically lower the actuator brake or move the piston with a hand tool if the battery fails.
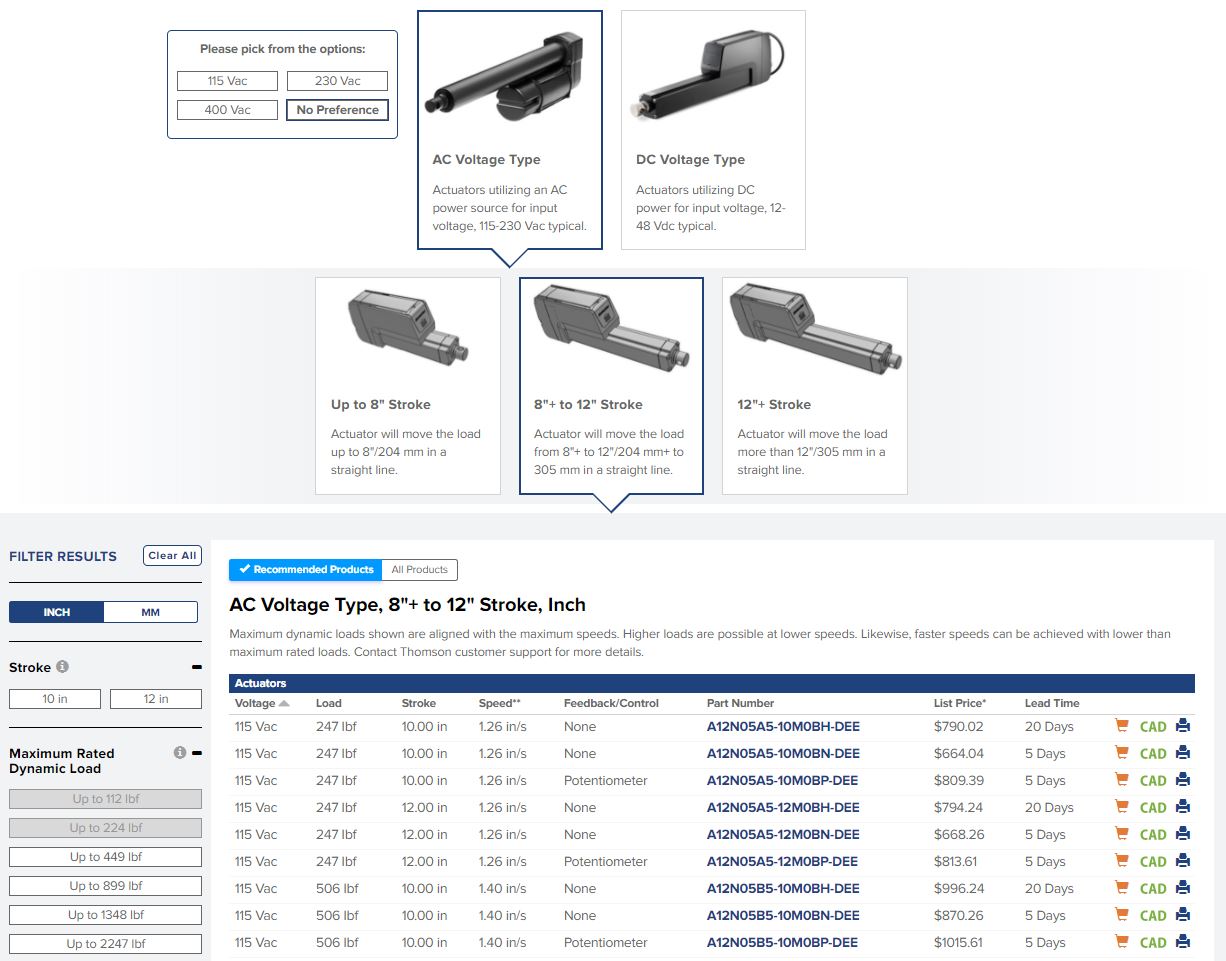
As you refine your motion, power and control needs, automated configuration tools like Thomson’s web-based linear actuator selector tool will help you optimize your selections. Image courtesy of Thomson Industries, Inc.
- Install and Connect the Electrical Components
Installation begins with removing the hydraulic support infrastructure. You’ll no longer need those pumps, cylinders, hoses and other clutter that were needed to support the hydraulic fluid, or the fluid itself. You will, however, still need a charging station, so be sure that it will comply with your battery voltage and type choices. (Figure 2)
Once the charging process is set, you can install the actuator, battery, controller and wiring. Although space requirements for the hydraulic cylinders themselves are comparable with electric actuators, you may need to fabricate custom mounts or brackets.
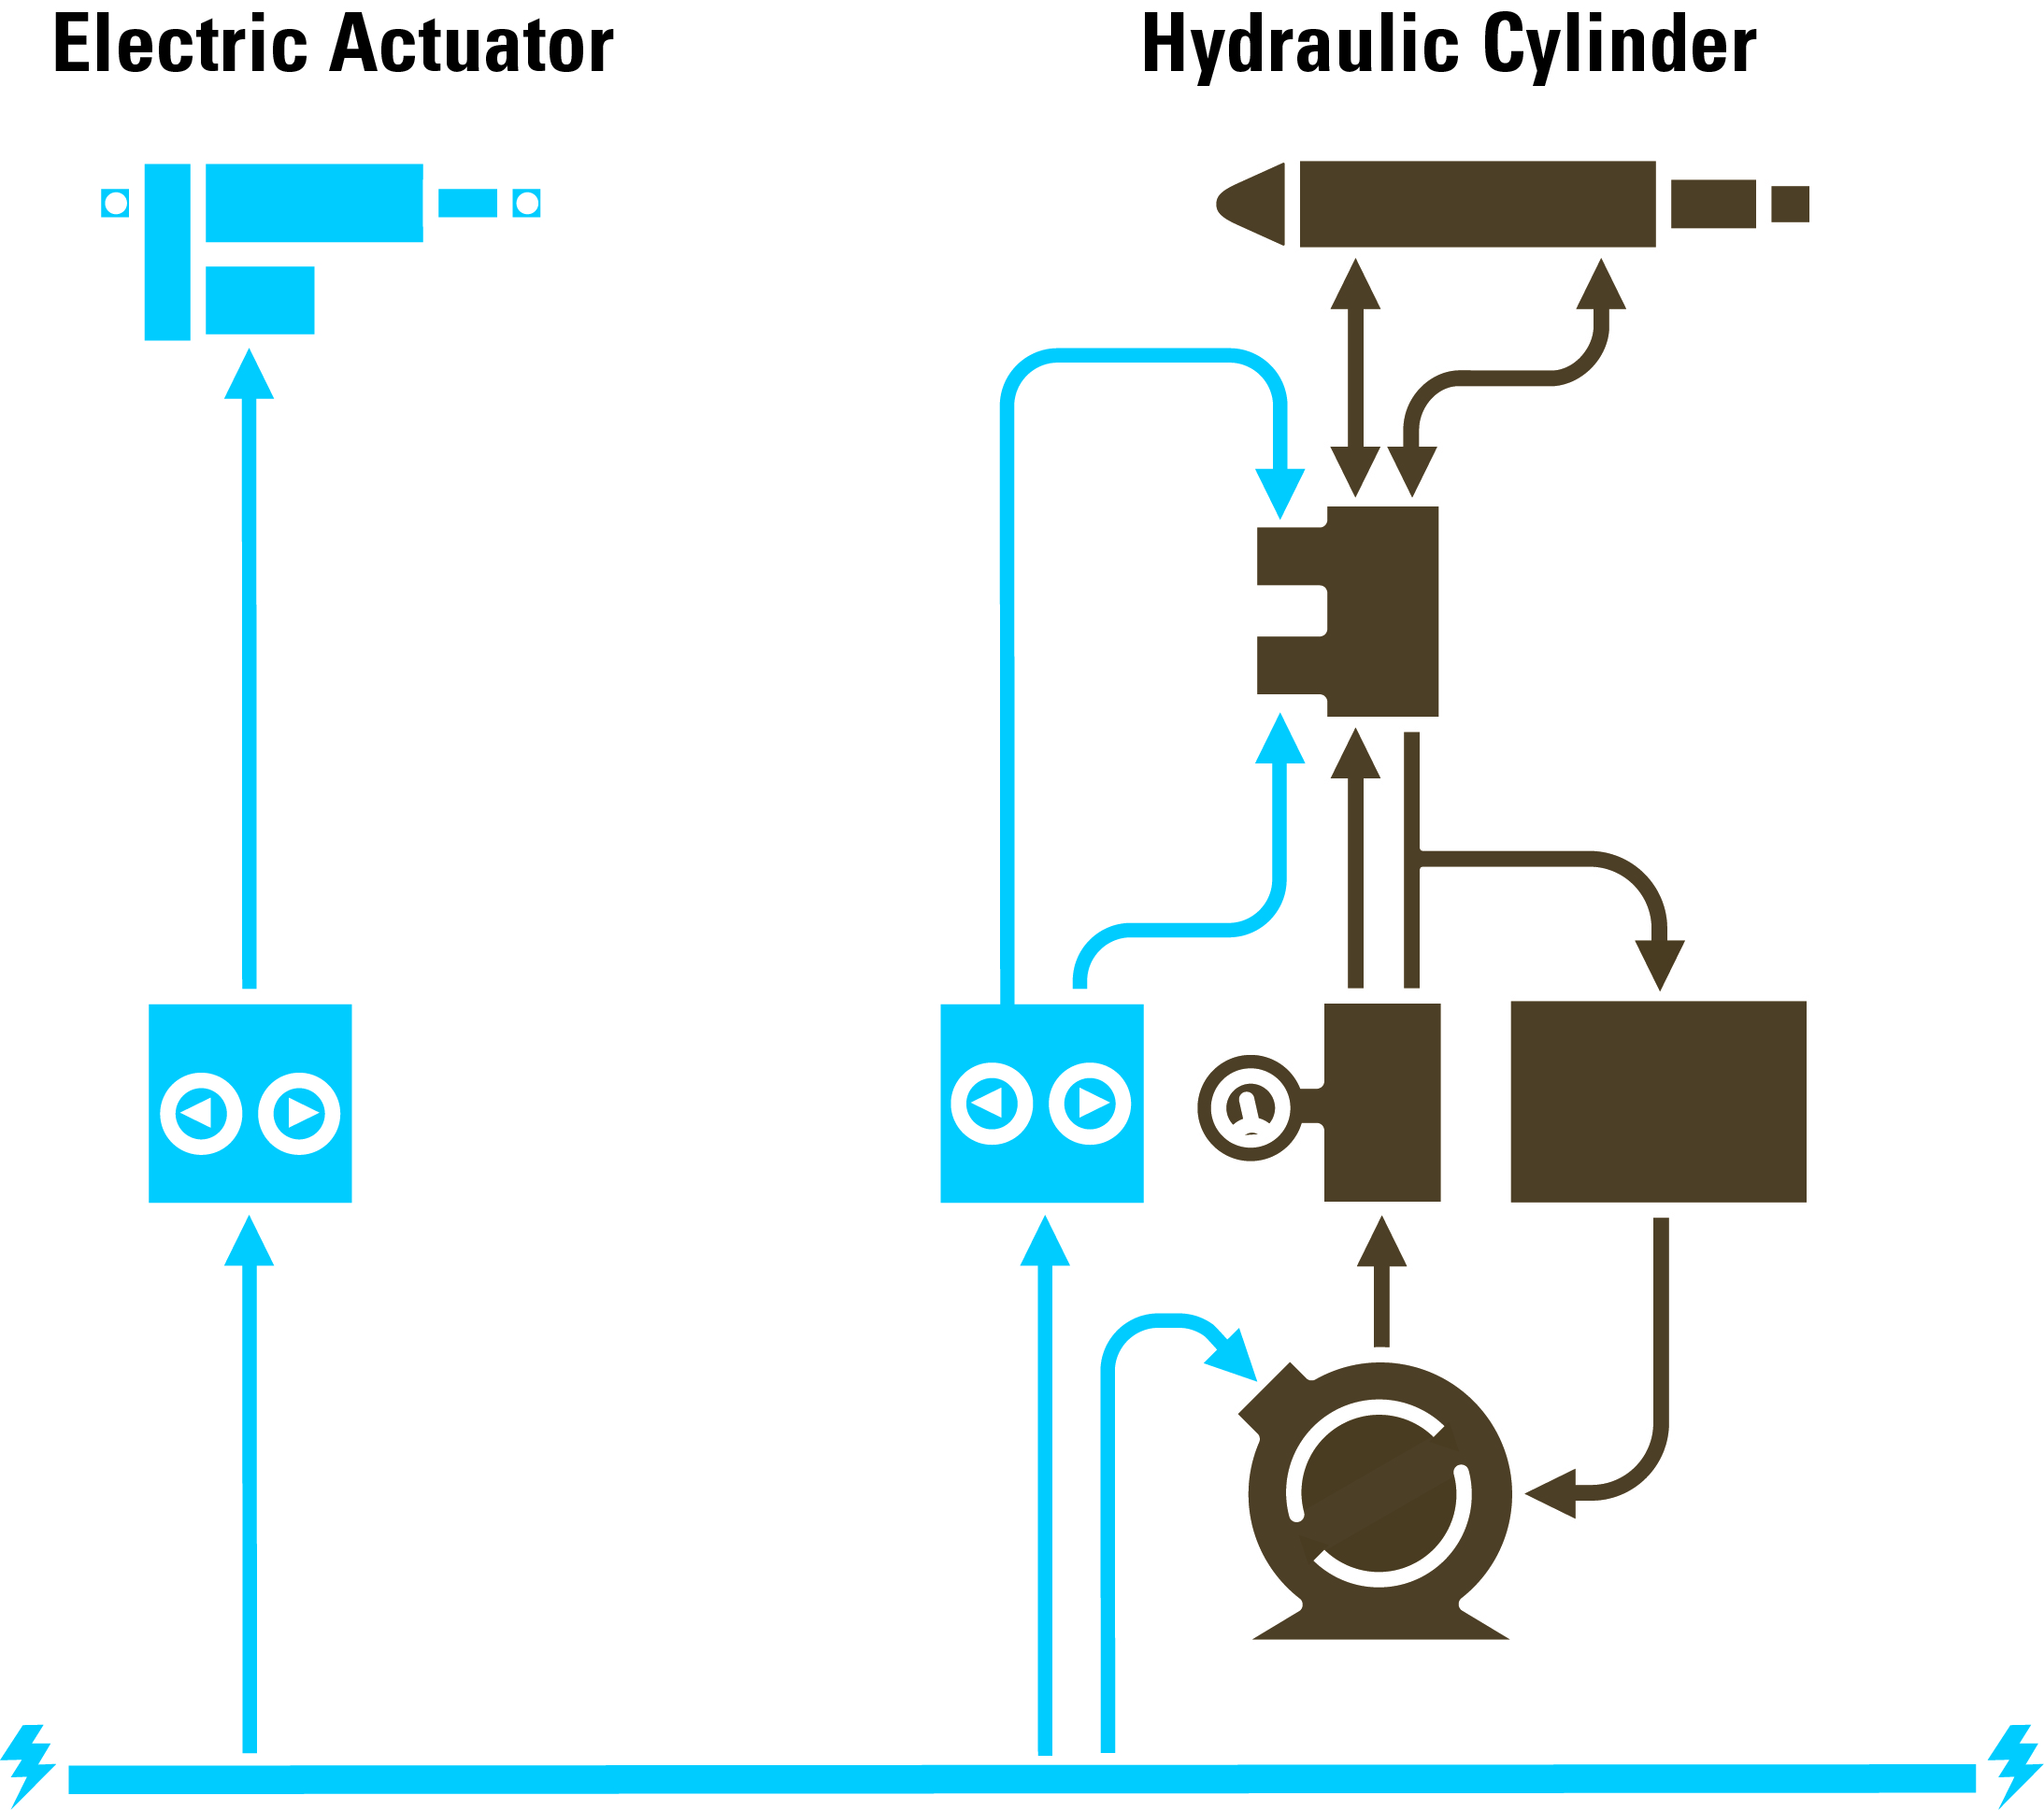
Figure 2. Installation, connection and maintenance of electric linear actuators are significantly simple compared to hydraulic systems, which require a complex series of pumps, hoses and other parts to operate. Image courtesy of Thomson Industries, Inc.
- Test and Optimize the Conversion
Connect the electrical components, ensuring that all connections are secure and properly insulated to prevent electrical issues. Test conversion to ensure that all components are functioning correctly and then calibrate the system to optimize performance and ensure safety.
- Say Goodbye to Excessive Maintenance
With your electric actuators in place, aside from minor lubrication from time to time, electromechanical actuators have negligible maintenance requirements, which lowers the cost of owning and operating tremendously. No need to change fluids or filter and no hoses or pump that will wear over time.
- Manage the Transition to Electromechanical Control
Electrification will likely raise management issues as well, including retraining or staffing up appropriately. This will also require the creation or modification of training manuals. Keeping meticulous details of all conversion steps will help with training materials and, depending on where you are located geographically, with regulatory implications.
- Think Ahead
If you have not done so already, it is wise to project your future conversion needs before you begin the transition. If you are planning to electrify a large fleet, there may be some things that you can do now to reduce costs and schedules down the road, such as making templates for custom parts.
Adherence to best practices, starting with your motion profile, and then carefully analyzing your energy requirements, controls, installation and change management issues, will help ensure an orderly, cost-efficient and safe transition from a hydraulic system to electromechanical actuators.